
Made From Scratch Chocolate Coconut Bars
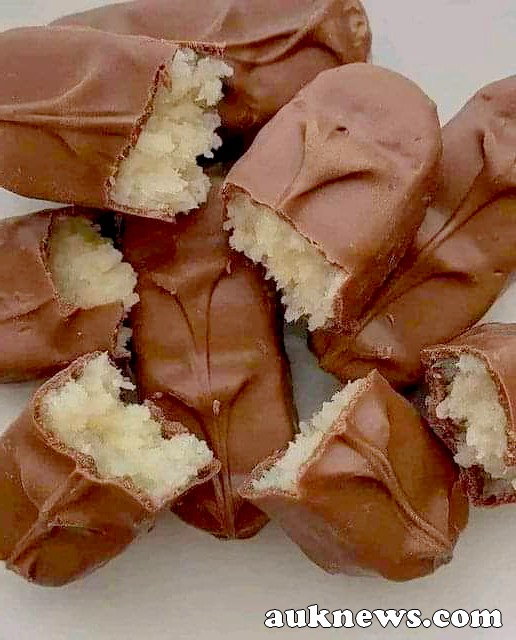
Taste Combining: The rich, silky chocolate covering and the creamy, sweet coconut filling provide the ideal harmony of tastes.
Textural Contrast: The soft coconut core and the crunchy chocolate shell create a mouthwatering texture difference.
Customizing these bars with different kinds of chocolate and other components helps one to satisfy varied tastes.
Materials for Coconut Chocolate Bars
Making handmade chocolate and coconut bars calls for the following supplies:
Two cups shredded sweetened coconut
One cup condensed milk sweetened
One teaspoon of vanilla essence
Two cups either melted chocolate or semi-sweet chocolate chips
Two teaspoons coconut oil, optional to create a smoother chocolate covering.
Methodically follow a recipe.
One should get ready the coconut filling.
Combine the shredded coconut, sweetened condensed milk and vanilla essence in a large mixing basin. Stir well until the condensed milk coats the coconut completely.
Form the coconut mixture tiny rectangular bars with your hands. Arrange them on a parchment paper-covered baking sheet. Depending on your tastes, you can create them whatever size you choose.
Chill the coconut bars for at least thirty minutes by refrigeration of the baking sheet. This allows them to stiffen up and facilitates chocolate coating.
2. melt the chocolate.
Using a heatproof bowl, arrange the chocolate chips or melt in a water bath manner. Make sure the bottom of the bowl does not come into contact with the boiling water pan. Till absolutely melted and smooth, stir the chocolate.
Another way to melt the chocolate is in a microwave. Set the chocolate in a microwave-safe basin and heat every 30 seconds, stirring at each interval until melted completely.
Including 2 tablespoons of coconut oil to the melted chocolate can help you to get a smoother, shiny chocolate coating.
Using a fork, dip each cold coconut bar into the melted chocolate so that it is all covered. Before layering the covered bar back on the parchment-lined baking sheet, let extra chocolate trickle off.
For every coconut bar, repeat the procedure. Reheat the chocolate gradually in a bain-marie or the microwave should it start to harden.
Once all the bars are covered, put the baking sheet back in the refrigerator to let the chocolate completely set. Usually, this runs fifteen to twenty minutes.
4. Present and handle; blind
Serving: For a chilly and reviving treat, enjoy the coconut chocolate bars directly from the refrigerator; alternatively, at room temperature will provide a softer texture.
Bars keep best in the refrigerator in an airtight container for up to two weeks. They can also be kept frozen for longer use.
Customize your Coconut and Chocolate Bars.
Making homemade coconut chocolate bars is great when one can personalize them.
nnalize to your hide-through. Here are some ideas to get you started:
Different tastes: Use milk, dark, or white chocolate depending on your taste for the coating.
Mix chopped nuts like almonds, pecans or macadamias into the coconut filling for added crunch and savers.
Flavor variations: Add almond extract, coconut extract or rum flavoring to the coconut mixture for a unique touch.
Sprinkle sea salt, shredded coconut or crushed nuts over the chocolate coating before it hardens for added texture & flavor.
Advice for ideal chocolate bars and nuts of coconut
Consistent size: Try to make the coconut bars as uniform as possible for a uniform coating and presentation.
Keep the chocolate at a consistent temperature while coating the bars to ensure a smooth finish.
Allow adequate cooling time for the coconut filling and coated bars to form and set properly.
Ultimately
Coconut Chocolate Bars combine the rich flavors of chocolate and coconut in perfect harmony.
Following this easy schedule will help you to clearly identify your own batch of these beautiful bars, personnalesized towards your taste.
Coconut Chocolate Bars are sure to be a hit whether you enjoy them as a snack, dessert, or as a gift for your family.
So, gather your ingredients, roll up your sleeves, and start making this delicious treat today. Good eating!
Enjoy!
See also: Delicious Two-Ingredient Dulce de Leche Squares
For more beautiful and delicious recipes, JOIN TO OUR FACEBOOK GROUP.