
Moist, sweet, and made in minutes—no oven required!
Whether you’re craving a quick dessert or looking to use up ripe bananas, this stovetop cake is a fantastic treat. It comes together with just a few pantry staples and doesn’t require any fancy equipment. The condensed milk brings sweetness and richness, while the bananas add moisture and flavor.
Ingredients:
-
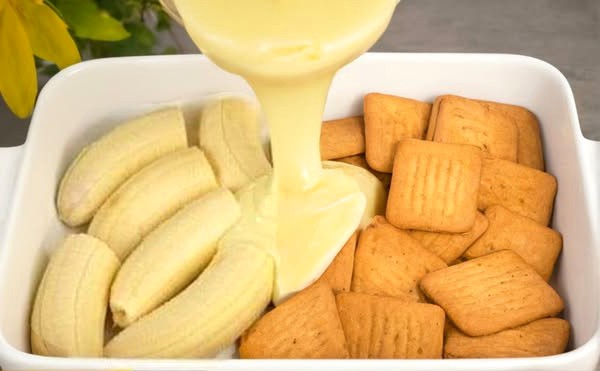
1 can of sweetened condensed milk (14 oz or 400g)
-
3 ripe bananas, mashed (the riper, the better!)
-
1 teaspoon vanilla extract
-
1 cup all-purpose flour
-
1 teaspoon baking powder
-
A pinch of salt
-
Butter or oil, for greasing the pan
Instructions:
Step 1: Prepare the Bananas
Peel and mash the bananas in a large mixing bowl until they are smooth and creamy. If a few small lumps remain, that’s okay—it adds texture to the final cake.
Tip: Very ripe bananas (with lots of brown spots) are best because they’re naturally sweeter and more aromatic.
Step 2: Add the Condensed Milk and Vanilla
Pour the entire can of sweetened condensed milk into the bowl with the mashed bananas. Add the vanilla extract and mix well until fully combined and silky in texture.
Step 3: Mix the Dry Ingredients
In a separate bowl, combine the flour, baking powder, and salt. Mix well to distribute the leavening agent evenly.
Step 4: Combine Wet and Dry Ingredients
Gradually add the dry ingredients to the banana-condensed milk mixture. Stir gently using a spatula or spoon until a smooth, thick batter forms. Be careful not to overmix.
Tip: If the batter seems too thick, you can add a splash of milk (dairy or non-dairy) to loosen it slightly, but it should still hold its shape.
Step 5: Cook the Cake on the Stovetop
-
Preheat a non-stick skillet or frying pan over low heat.
-
Lightly grease the pan with butter or oil.
-
Pour the batter into the pan and smooth the top with a spatula.
-
Cover with a tight-fitting lid to create an oven-like environment.
-
Cook on low heat for 5 to 8 minutes, or until the edges begin to firm up and bubbles form on the surface.
Step 6: Flip and Finish Cooking
Using a wide spatula, gently flip the cake. It should be golden on the bottom and set enough to handle. Cook the other side for another 3 to 5 minutes, until the cake is fully cooked through and both sides are nicely browned.
Alternative Method: If flipping seems tricky, you can divide the batter and cook it in two batches, like thick pancakes.
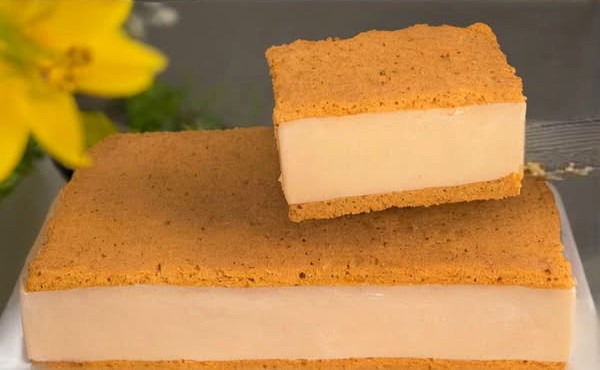
Step 7: Cool and Serve
Remove the cake from the pan and let it cool for a few minutes on a plate or wire rack. Slice and serve warm, or let it chill in the fridge for a firmer texture.
Serving Ideas:
-
Drizzle with chocolate syrup or honey
-
Dust with powdered sugar or cinnamon
-
Top with fresh banana slices or chopped nuts
-
Serve with a scoop of vanilla ice cream or a dollop of whipped cream
Variations:
-
Microwave Version: Pour the batter into a greased, microwave-safe dish and microwave on high for 4–6 minutes, checking for doneness after 4 minutes.
-
Steamed Version: Pour batter into a greased cake tin or heat-safe bowl, and steam for 20–25 minutes or until a toothpick inserted comes out clean.
-
Add-ins: Mix in chocolate chips, chopped walnuts, shredded coconut, or a pinch of cinnamon for extra flavor.
Storage Tips:
-
Store leftovers in an airtight container in the fridge for up to 3 days.
-
Warm in the microwave for 15–20 seconds before serving.
-
You can also freeze individual slices for up to a month. Just thaw and reheat when ready to enjoy!